How to run Oobabooga in Docker?

This is a short tutorial describing how to run Oobabooga LLM web UI with Docker and Nvidia GPU.
Install Docker
Install Docker for your platform. This tutorial will work on Windows, Linux and Mac (no GPU support).
Enable GPU support in Docker
Desktop Desktop on Windows supports NVidia GPU out-of-the-box.
To get GPU support on Linux you need to install nvidia-container-toolkit.
Here are instructions for Ubuntu:
- Configure APT repository.
curl -fsSL https://nvidia.github.io/libnvidia-container/gpgkey | sudo gpg --dearmor -o /usr/share/keyrings/nvidia-container-toolkit-keyring.gpg \
  && curl -s -L https://nvidia.github.io/libnvidia-container/stable/deb/nvidia-container-toolkit.list | \
    sed 's#deb https://#deb [signed-by=/usr/share/keyrings/nvidia-container-toolkit-keyring.gpg] https://#g' | \
    sudo tee /etc/apt/sources.list.d/nvidia-container-toolkit.list
- Install the package.
sudo apt-get update
sudo apt-get install -y nvidia-container-toolkit
- Restart Docker.
sudo systemctl restart docker
- Test GPU support in Docker containers (you should see information about your GPUs)
docker run --gpus all ubuntu nvidia-smi
Run Oobabooga Container
- Start Oobabooga Docker Container:
docker run -p 7860:7860 -e EXTRA_LAUNCH_ARGS="--listen --verbose" -it --name oobabooga --gpus all atinoda/text-generation-webui:default-nvidia
If not using Nvidia GPU, choose an appropriate image variant at Docker Hub.
Downloaded models live inside the container and will be removed once you remove the Docker image. If you want to persist models across runs, for example in ~/oobabooga/models directory, supply the following option:
-v ~/oobabooga/models:/app/models
If you press Ctrl-C or Ctrl-D the container will stop. To detach from container and let it continue running in the background press Ctrl-P followed by Ctrl-Q.
-
Open http://0.0.0.0:7860/ in the browser to get to the web UI.
-
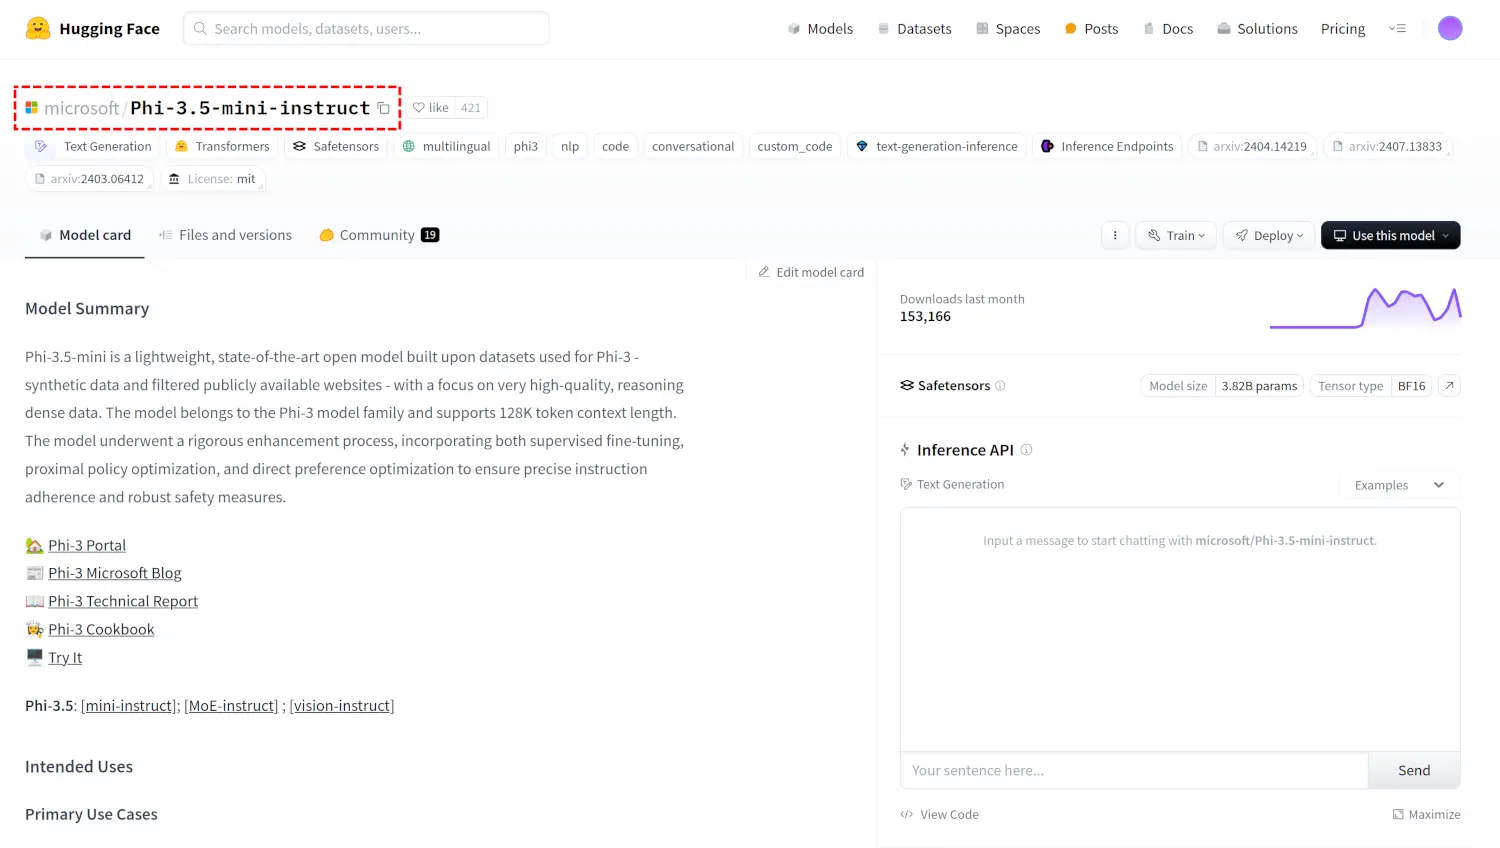
Find a model you want to use at HuggingFace. You can get see all models with the text-generation tag using this link:
-
Copy model name, e.g. microsoft/Phi-3.5-mini-instruct
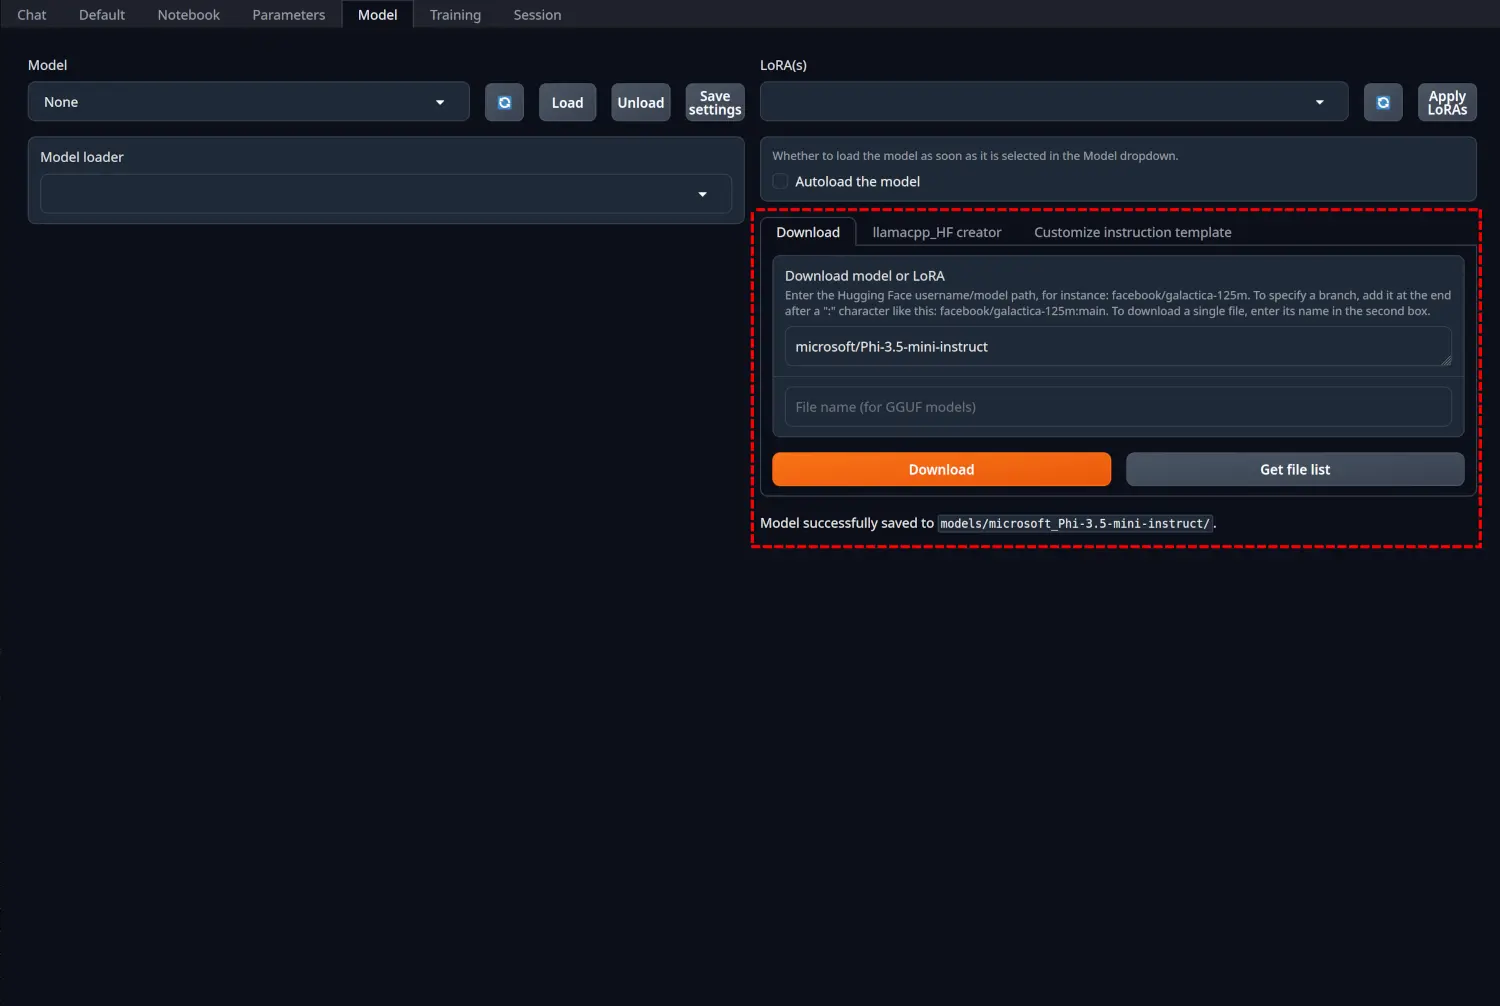
- Navigate to the model tab in the web UI and download the desired model by pasting its name in the model name field and clicking the download button.
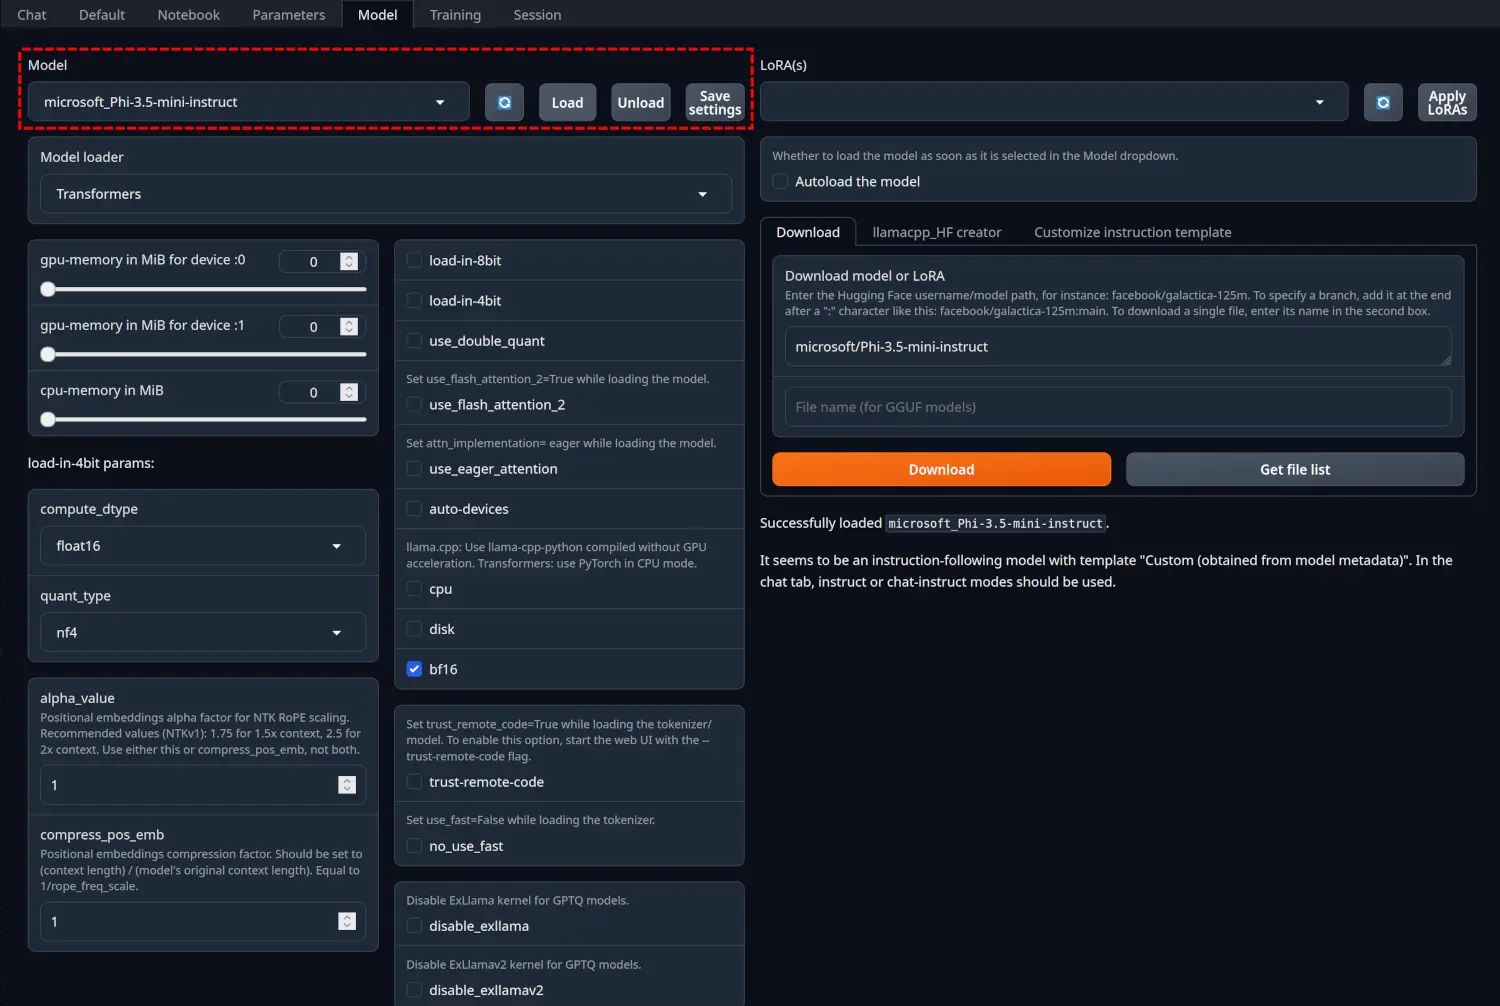
- Hit the refresh button near model selection, select the downloaded model and click "Load".
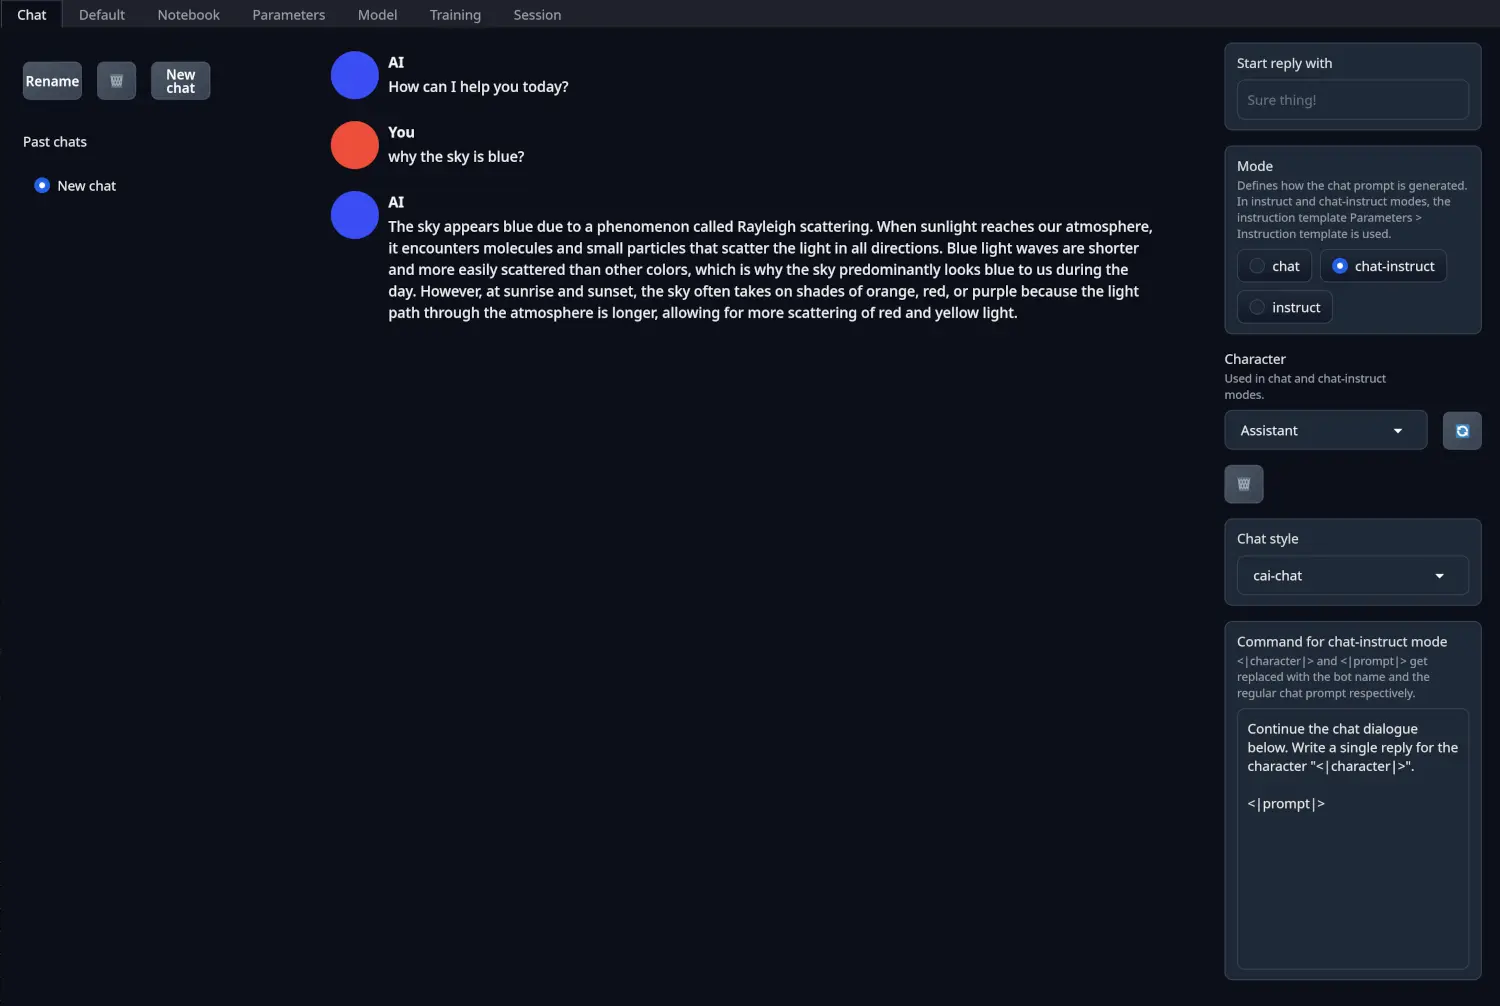
- Once the model is loaded, navigate to the "Chat" tab and start generating text.
Rent a GPU in the cloud
Aforementioned instructions will work on most of the clouds like AWS, GCP, Azure, Digital Ocean, etc.
Support the author and try https://www.neuralrack.ai/
Comprehensive instructions for running Oobabooga on a machine rented through Neuralrack can be found here.


